Creating a home theater experience that rivals the cinematic feel of commercial theaters is a dream for many homeowners. With advances in smart home technology, you can synchronize your Smart TV, lights, and sound system to achieve an immersive entertainment environment. In this blog post, we will walk you through the steps to create a perfectly synchronized and optimized home theater experience that will make movie nights unforgettable.
Step 1: Choosing the Right Devices
A. Smart TV
Your Smart TV is the centerpiece of your home theater setup. When selecting a Smart TV, prioritize those models that offer high-definition or 4K resolution and have built-in smart features such as voice control, streaming apps, and integration capabilities.
B. Smart Lights
Smart lights play a crucial role in creating the right ambiance in your home theater. Choose lighting systems that support Wi-Fi connectivity, app control, and integration with other smart devices. Popular options include Philips Hue, LIFX, and TP-Link Kasa Smart bulbs.
C. Sound System
An exceptional sound system is indispensable for a true home theater experience. Opt for smart sound systems or soundbars that support wireless connectivity, voice control, and multi-room audio capabilities. Brands like Sonos, Bose, and Yamaha offer robust options that enhance your audio experience.
Step 2: Connectivity and Integration
A. Smart Home Hub
A smart home hub can seamlessly integrate your Smart TV, lights, and sound system. Hubs like Amazon Echo, Google Home, or Samsung SmartThings allow you to control multiple devices using a single interface. Ensure that your chosen hub is compatible with all your smart devices.
B. Wi-Fi Network
A stable and robust Wi-Fi network is vital for smooth synchronization. Invest in a high-speed router and consider using Wi-Fi extenders or mesh networks to ensure strong connectivity throughout your home theater space.
Step 3: Setting Up Smart TV
A. Initial Setup
Unbox your Smart TV and follow the manufacturer’s instructions for initial setup. Connect the TV to your Wi-Fi network and log in to your streaming service accounts.
B. App Integration
Download and install apps like Netflix, Amazon Prime, Hulu, or Disney+ on your Smart TV. You can also download the respective smart home app provided by your TV’s manufacturer for enhanced control and integration.
C. Voice Control
Enable voice control by linking your Smart TV with voice assistants like Amazon Alexa, Google Assistant, or Apple Siri through their respective apps and skills. This feature allows you to turn the TV on/off, change channels, and adjust volume using voice commands.
Step 4: Configuring Smart Lighting
A. Placement and Installation
Plan the placement of your smart lights for optimal ambient lighting. Install smart bulbs in ceiling fixtures, behind the TV, or in floor lamps to create a dynamic lighting environment.
B. Connecting to the Network
Using the companion app for your smart lights, connect each bulb to your Wi-Fi network. Follow in-app instructions to assign names and rooms to each light for easier control.
C. Creating Scenes and Routines
Many smart lighting systems allow you to create customized lighting scenes and routines. Set up scenes like “Movie Night,” which dims the lights to a comfortable level, providing an ideal viewing ambiance. Use routines to automate lighting adjustments based on time, sunset, or other triggers.
Step 5: Integrating the Sound System
A. Placement for Sound Quality
Position speakers for the best possible acoustics. Front speakers and soundbars should be placed directly in front of the viewing area, while sub-woofers and satellite speakers can be distributed around the room to enhance the surround sound effect.
B. Syncing with Wi-Fi
Follow the manufacturer’s guidelines to connect your sound system to your Wi-Fi network. Use the associated app to complete the setup and link the sound system with your smart hub.
C. Multi-Room Audio Setup
If your sound system supports multi-room audio, group speakers and control them together for a cohesive sound experience.
Step 6: Synchronizing Devices
A. Linking through Smart Hub
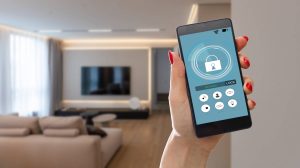
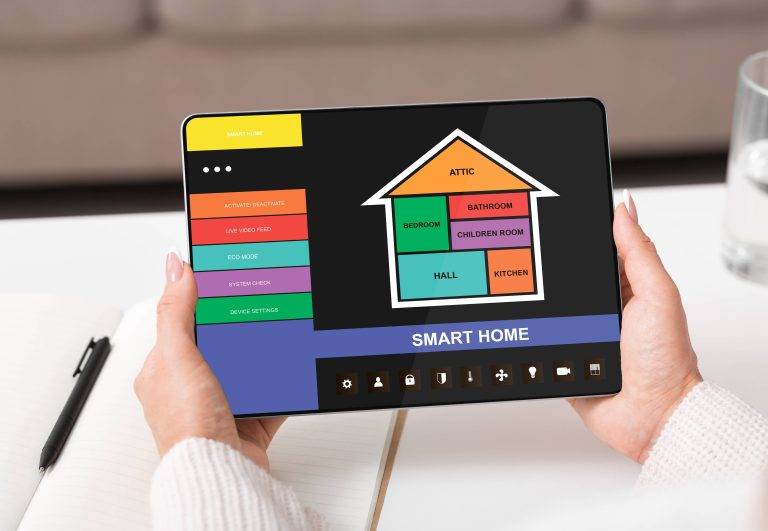
Use your smart hub app to link your Smart TV, lights, and sound system. Create a group or room within the app to include all your theater devices. This grouping allows you to control all devices simultaneously.
B. Scene and Activity Creation
Set up scenes or activities within your smart hub app, such as “Home Theater Mode.” This mode can be programmed to turn on the TV, set the sound system to the desired level, and adjust the lighting to the Movie Night scene with one command.
C. Voice Commands and Automation
Take advantage of voice control and automation features. For instance, you can say, “Alexa, turn on Home Theater Mode,” and watch your devices sync to create the perfect entertainment environment automatically.
Step 7: Testing and Fine-Tuning
A. Test Each Device
Test your Smart TV, lights, and sound system individually to ensure they are functioning correctly. Make necessary adjustments to picture settings, sound levels, and lighting brightness.
B. Test Synchronization
Activate your home theater scene and observe if all devices operate as expected. Make adjustments in your smart hub app to fine-tune the timing and coordination among your devices.
C. User Feedback
Gather feedback from family members or friends who experience your home theater setup. Use their insights to make further refinements and enhance the overall experience.
By following these detailed steps, you can achieve an optimized home theater experience that’s not only immersive but also smartly synchronized. Enjoy your movie nights with crystal-clear visuals, enveloping sound, and perfectly set lighting — all managed effortlessly through your integrated smart home system. Happy viewing!

