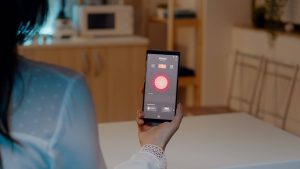
In an era where technology pervades nearly every aspect of our lives, ensuring the security and privacy of our homes has never been more critical. One of the fundamental elements of a modern smart home security system is the smart doorbell camera. By integrating advanced technology like motion detection, two-way communication, recording features, and remote access, a smart doorbell can significantly enhance your home security. Here’s a comprehensive guide to setting up a smart doorbell camera to ensure ultimate security and privacy for your home.
Choosing the Right Smart Doorbell Camera
The first step in setting up a smart doorbell camera is selecting the right device that meets your needs. Here are some important factors to consider:
1. Resolution and Field of View
A high-resolution camera, ideally 1080p HD or better, provides clear and detailed images, making it easier to identify faces and objects. Additionally, a wide field of view ensures you can cover more area and reduces blind spots.
2. Motion Detection and Alerts
Look for a doorbell camera with adjustable motion detection. Some cameras allow you to define specific zones to monitor, reducing false alerts from passing cars or pedestrians. Instant notifications on your smartphone when motion is detected enable you to monitor activity in real-time.
3. Night Vision
Good night vision is crucial for 24/7 security. Ensure the doorbell camera has infrared LEDs or other night vision technology to capture clear images in low light conditions.
4. Two-Way Audio
Two-way audio allows you to communicate with visitors or deter unwanted guests through the built-in microphone and speaker. This feature adds an extra layer of security and convenience.
5. Cloud Storage vs. Local Storage
Consider whether you prefer cloud storage or local storage (such as an SD card) for your recorded footage. Cloud storage often comes with monthly fees but provides remote access and backup. Local storage avoids subscription fees but may be limited in capacity.
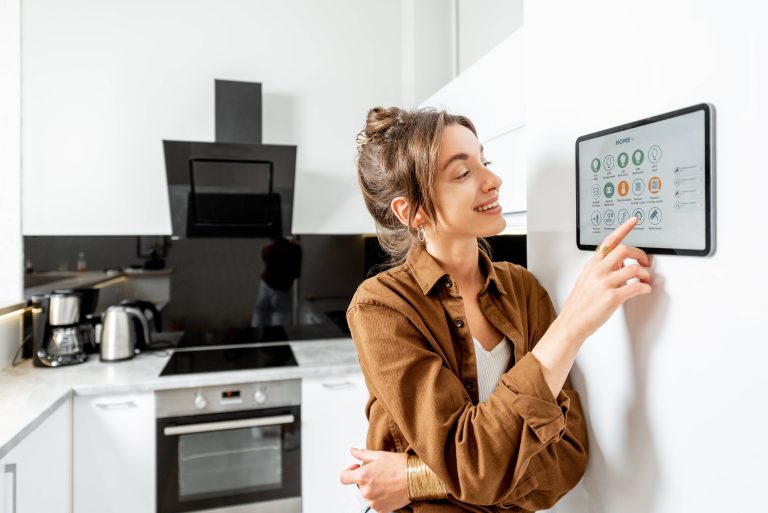
6. Integration with Other Smart Devices
For a seamless smart home experience, choose a doorbell camera compatible with your existing smart home ecosystem, whether it’s Amazon Alexa, Google Assistant, or Apple HomeKit.
Installation Steps
Once you have chosen the perfect smart doorbell camera for your needs, it’s time to install it. Here’s a step-by-step guide to help you through the process:
1. Check Compatibility and Power Requirements
Before installation, check whether your existing doorbell system is compatible with the smart doorbell camera. Most require 16-24V AC power, so ensure your existing wiring can support it. If not, you may need an adapter or a new power source.
2. Turn Off Power
Safety first! Turn off the power to your existing doorbell at the breaker to avoid any electrical hazards during installation.
3. Remove Existing Doorbell
Carefully remove your existing doorbell, leaving the wires exposed. Take note of how the wires are connected.
4. Mount the Bracket
Position the mounting bracket of the smart doorbell camera on the wall where the old doorbell was located. Use the provided screws and anchors to secure it.
5. Connect Wires
Attach the existing doorbell wires to the terminals on the smart doorbell camera. Typically, it doesn’t matter which wire goes to which terminal as long as they are securely fastened.
6. Attach the Doorbell Camera
Once the wires are connected, attach the smart doorbell camera to the mounting bracket. Follow the manufacturer’s instructions for securing it in place, which may involve snapping or screwing the unit onto the bracket.
7. Restore Power and Setup
Turn the power back on at the breaker. Your smart doorbell camera should power up. Follow the manufacturer’s app instructions to complete the setup process, including connecting to your Wi-Fi network and adjusting settings.
Maximizing Security and Privacy
With your smart doorbell camera installed, the next step is configuring its settings to maximize security and privacy.
1. Enable Two-Factor Authentication (2FA)
For cloud-connected devices, enabling 2FA adds an extra layer of security to your account, making it more difficult for unauthorized users to gain access.
2. Customize Motion Zones and Sensitivity
Adjust the motion detection zones and sensitivity according to your needs. Fine-tuning these settings will help reduce false alerts and enhance the camera’s effectiveness.
3. Regular Software Updates
Ensure your smart doorbell camera firmware is always up to date. Manufacturers release updates to improve security, add features, and fix vulnerabilities.
4. Privacy Zones
Some doorbell cameras offer privacy zones, allowing you to mask areas you don’t want to record, such as a neighbor’s property or a public sidewalk.
5. Secure Your Wi-Fi Network
A secure home network is crucial. Use strong, unique passwords for your Wi-Fi and enable WPA3 encryption if available. Disable remote access to your router’s settings to prevent unauthorized changes.
6. Review Access Permissions
Regularly review who has access to your smart doorbell camera. Remove any devices or users that no longer need access.
Final Thoughts
Setting up a smart doorbell camera is a vital step toward enhancing your home’s security and peace of mind. By carefully selecting the right device, following proper installation procedures, and optimizing security settings, you can create a robust front-line defense against intruders while maintaining control over your privacy.
Remember, the ultimate goal is to create a safe and secure environment for you and your loved ones. Stay vigilant, stay updated, and enjoy the convenience and security that modern smart home technology brings.