Introduction
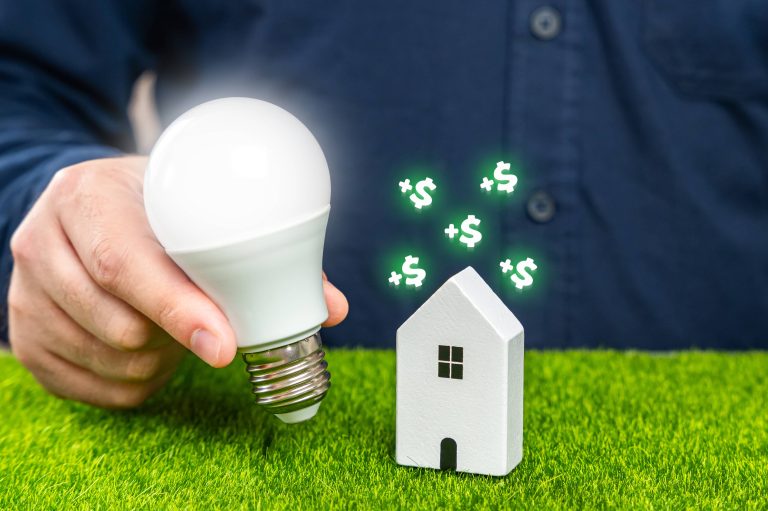
Gone are the days when smart home technology was only for the affluent or tech-savvy enthusiasts. With advancements in technology and the integration of user-friendly systems, smart home automation is now within reach for almost anyone. If you’re looking into enhancing your home’s intelligence without breaking the bank or requiring a professional, there are numerous DIY projects available that can significantly impact your everyday life. In this blog post, we will explore some of the top DIY smart home automation projects that you can undertake to make your home smarter, safer, and more convenient.
1. Smart Lighting
Project Overview
Let’s start with one of the simplest yet most impactful upgrades – smart lighting. Not only can this add to the ambiance of your home, but it can also provide energy savings by allowing you to control and automate the lighting in your space.
What You Need:
– Smart bulbs (e.g., Philips Hue, LIFX)
– Smart switches (e.g., Lutron Caseta, TP-Link Kasa)
– A smart hub (optional, e.g., Samsung SmartThings, Hubitat)
– A smartphone or voice assistant (e.g., Amazon Echo, Google Home)
– Installation accessories (screwdriver, etc.)
How to Implement:
1. Install Smart Bulbs or Switches: Replace your traditional bulbs with smart bulbs or install smart switches.
2. Connect to Wi-Fi or Hub: Follow the in-app instructions to connect these devices to your Wi-Fi network or smart home hub.
3. Set Up Automations: Use the app that corresponds to your smart bulbs or switches to set schedules, create scenes, or enable voice control.
4. Consider Sensors: For further automation, integrate motion or occupancy sensors to turn lights on or off based on movement.
Benefits:
– Remote control of lights
– Energy savings
– Enhanced home security (lights can be programmed to mimic occupancy even when you’re away)
2. Smart Thermostat
Project Overview
A smart thermostat is a great way to enhance your home’s efficiency by learning your schedule and adjusting the temperature accordingly. Most units are also compatible with voice assistants, allowing you to change settings hands-free.
What You Need:
– Smart thermostat (e.g., Nest Learning Thermostat, Ecobee)
– Basic tools (screwdriver, level)
– Existing wiring (check compatibility with your HVAC system)
How to Implement:
1. Turn Off Power to HVAC: For safety, switch off the power to your HVAC system at the breaker box.
2. Install Thermostat: Remove your old thermostat and install the new one, following the manufacturer’s detailed instructions.
3. Configure Settings: Connect it to your Wi-Fi, download the corresponding app, and follow the setup wizard.
4. Set up Schedules and Preferences: Once installed, set your preferences, schedules, or use geofencing if available to adjust the temperature based on your location.
Benefits:
– Energy savings from optimized scheduling and programming
– Remote control through an app
– Learns habits and adjusts temperatures for comfort
3. Smart Security Cameras
Project Overview
Maintaining security is crucial in any home, and smart cameras offer advanced functionality like motion detection, real-time alerts, and the ability to view a live stream from your smartphone, regardless of where you are.
What You Need:
– Smart security camera (e.g., Arlo, Ring, Nest)
– Suitable mounting equipment (included in most packages)
– A stable Wi-Fi connection
– Smartphone for app installation
How to Implement:
1. Choose Locations: Decide key positions around your home where cameras will have the best view.
2. Mount Cameras: Follow the mounting instructions for your specific camera model.
3. Connect and Configure: Connect the cameras to your Wi-Fi network and complete the setup using the manufacturer’s app.
4. Set Automations and Alerts: Configure motion detection zones, schedules, and other settings through the app to tailor your home security system.
Benefits:
– Enhanced home security with real-time alerts
– Remote monitoring and control
– Cloud storage of recordings
4. Smart Plugs
Project Overview
Smart plugs are an inexpensive yet highly effective way to automate non-smart devices. They can be used to turn devices on or off remotely, set schedules, and even monitor energy usage.
What You Need:
– Smart plugs (e.g., TP-Link Kasa, Wemo)
– A smartphone for app setup
How to Implement:
1. Plug In the Smart Plug: Place the smart plug into a power outlet and plug your appliance into the smart plug.
2. Connect to Wi-Fi: Open the app associated with the smart plug and connect the device to your Wi-Fi network.
3. Set Up Automations: Use the app to set schedules, timers, or remotely control the device.
Benefits:
– Control of appliances from any location
– Energy tracking and management
– Improved safety by managing devices like heaters or curling irons remotely
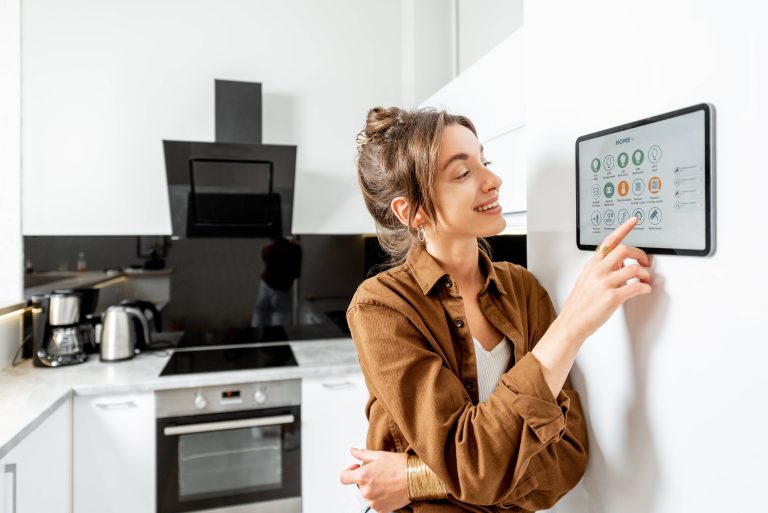
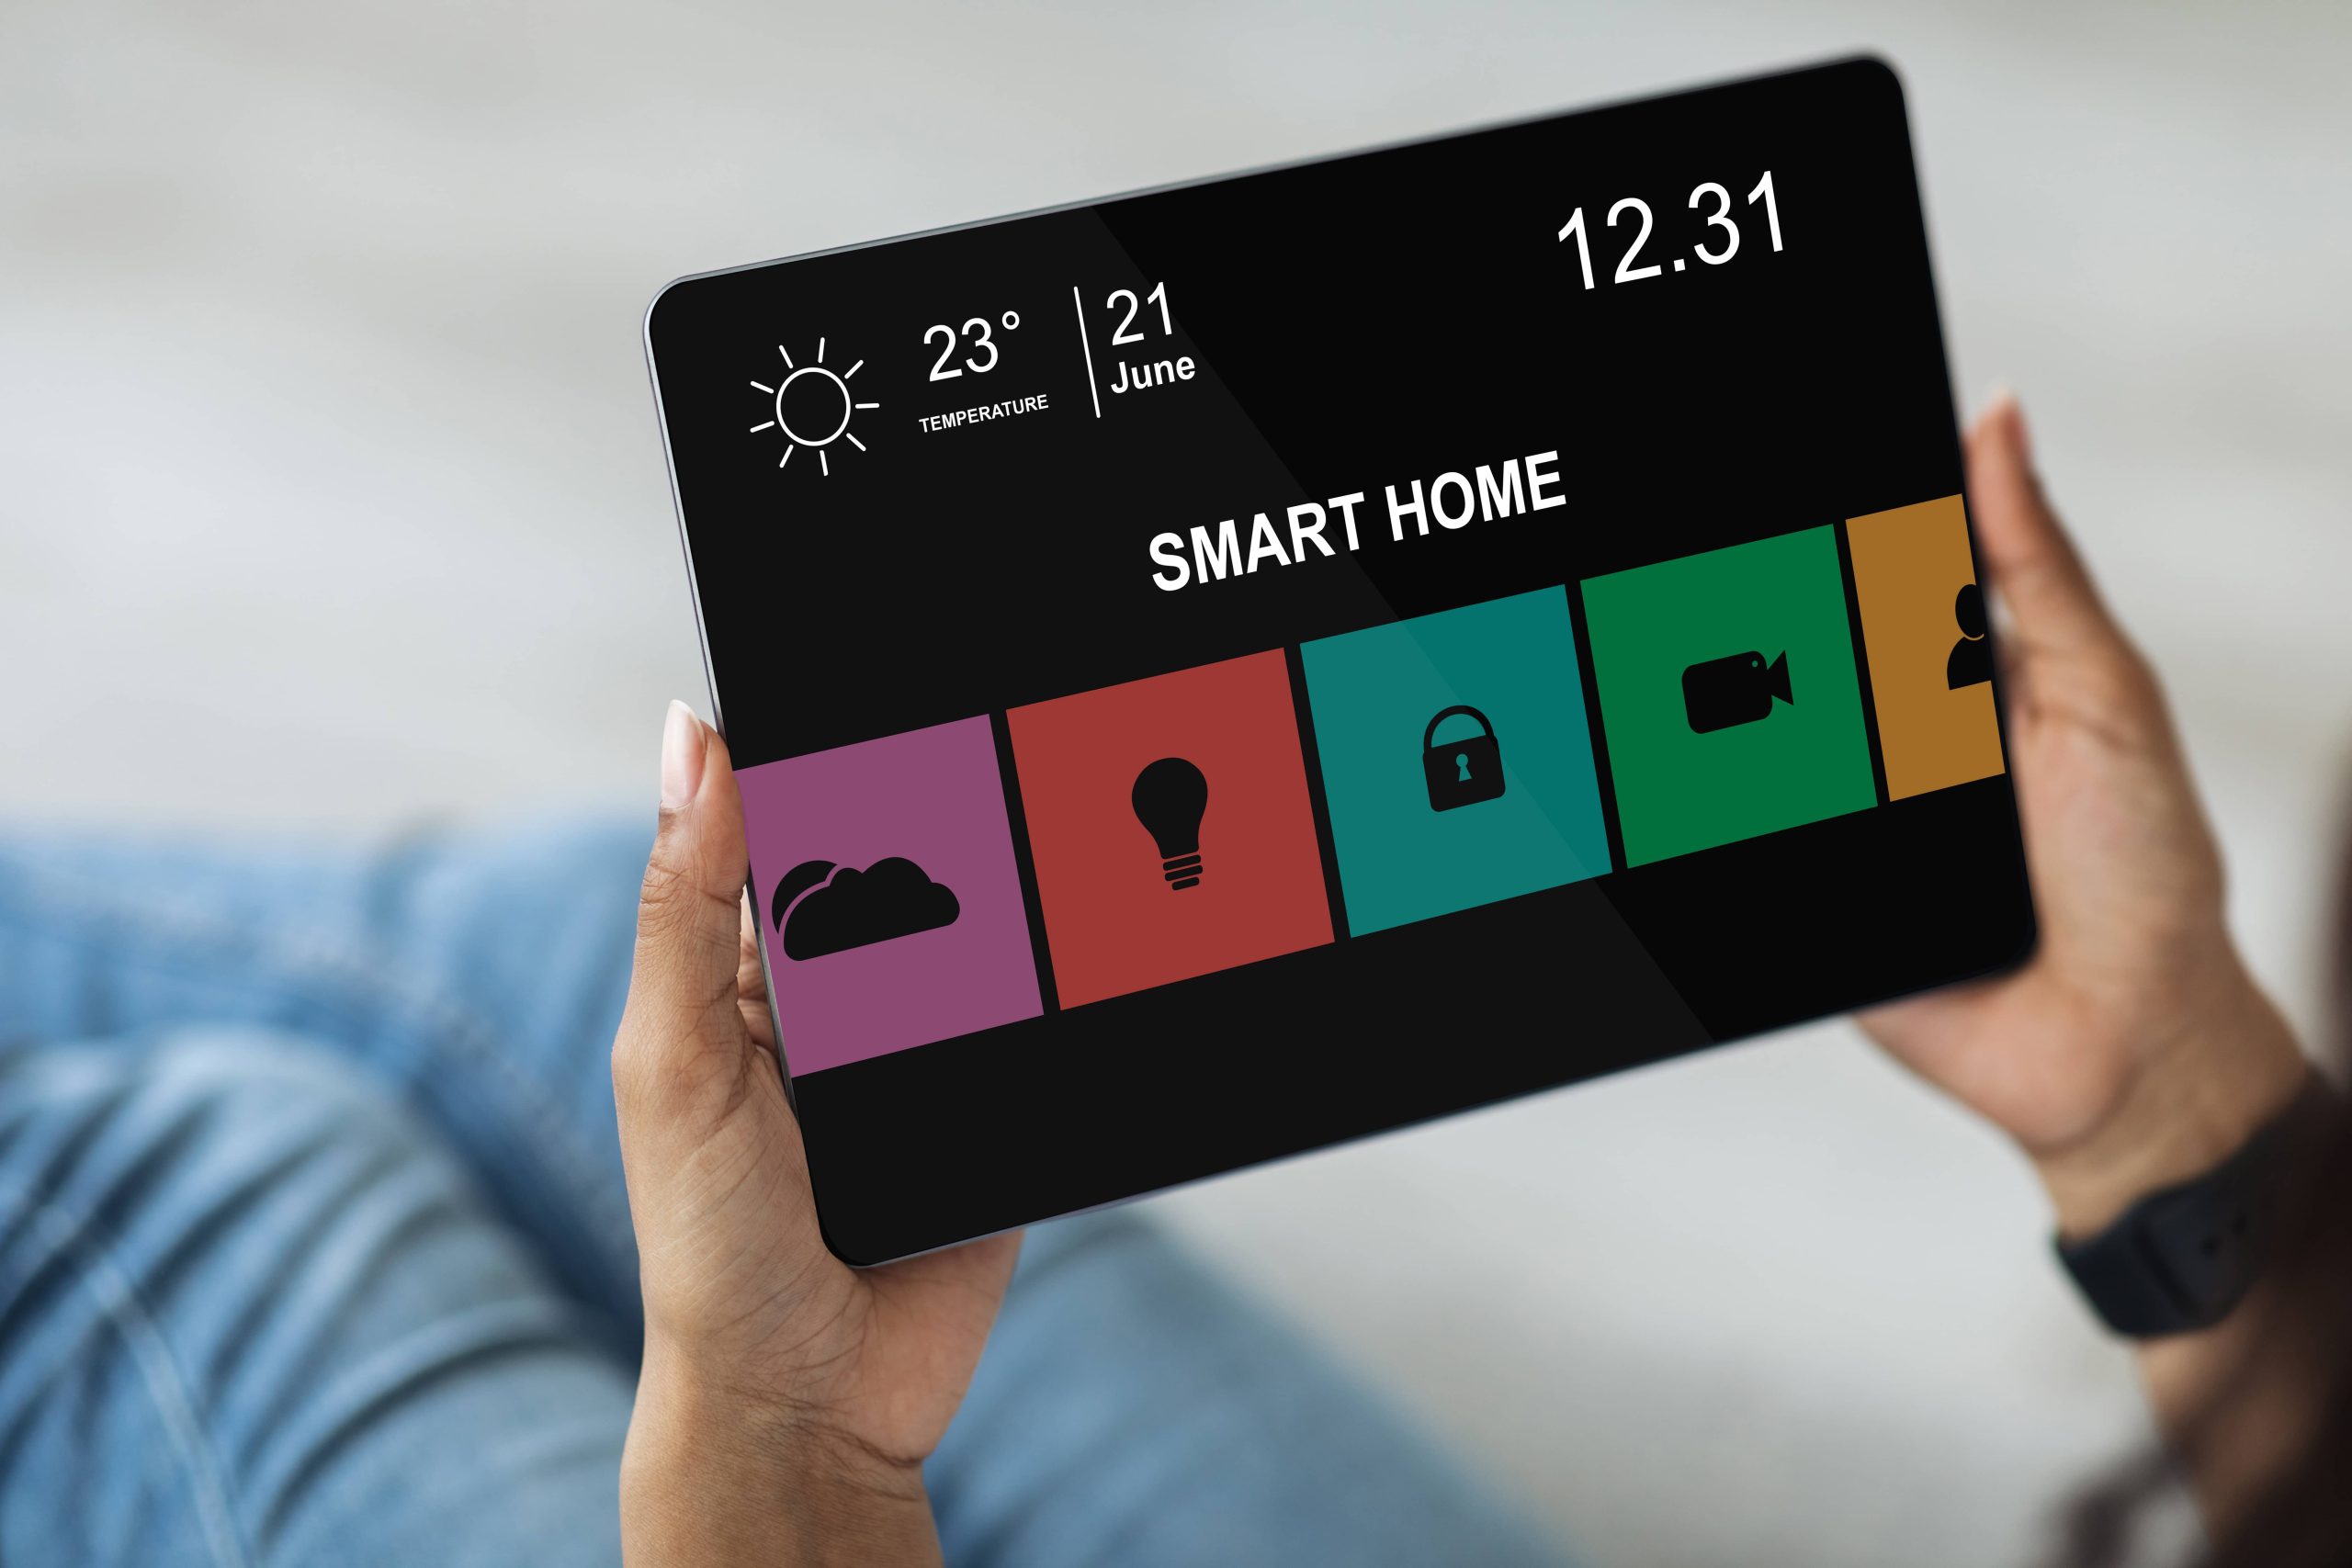
5. DIY Smart Home Hub
Project Overview
Creating a central hub to control all your smart devices can greatly simplify managing your home automation system. While many commercially available hubs are a great start, you can also build your own using open-source software and affordable hardware.
What You Need:
– Raspberry Pi
– Zigbee/Z-Wave dongle
– Open-source software (e.g., Home Assistant, OpenHAB)
– Basic network knowledge
How to Implement:
1. Set Up Raspberry Pi: Install a Linux-based OS on the Raspberry Pi.
2. Install Home Automation Software: Download and install your chosen home automation software.
3. Add Zigbee/Z-Wave Dongle: Connect the Zigbee or Z-Wave dongle to enable communication with smart devices.
4. Integrate Smart Devices: Follow the software’s process to connect and manage your various smart home devices.
Benefits:
– A highly customizable home automation system
– Integration of a wide range of smart devices
– Control everything from a single interface
Conclusion
DIY smart home automation projects provide an incredible opportunity to enhance the functionality, security, and efficiency of your home while also being fun and educational. The projects outlined range from simple tasks like installing smart plugs to more complex undertakings like setting up a smart home hub. Whichever project you choose, you’ll be taking another step toward a fully integrated and responsive smart home. Now, there’s no better time to roll up your sleeves and start with these top DIY smart home automation projects. Happy automating!